Built to last. Designed to Dazzle.
Make it stand out.
-
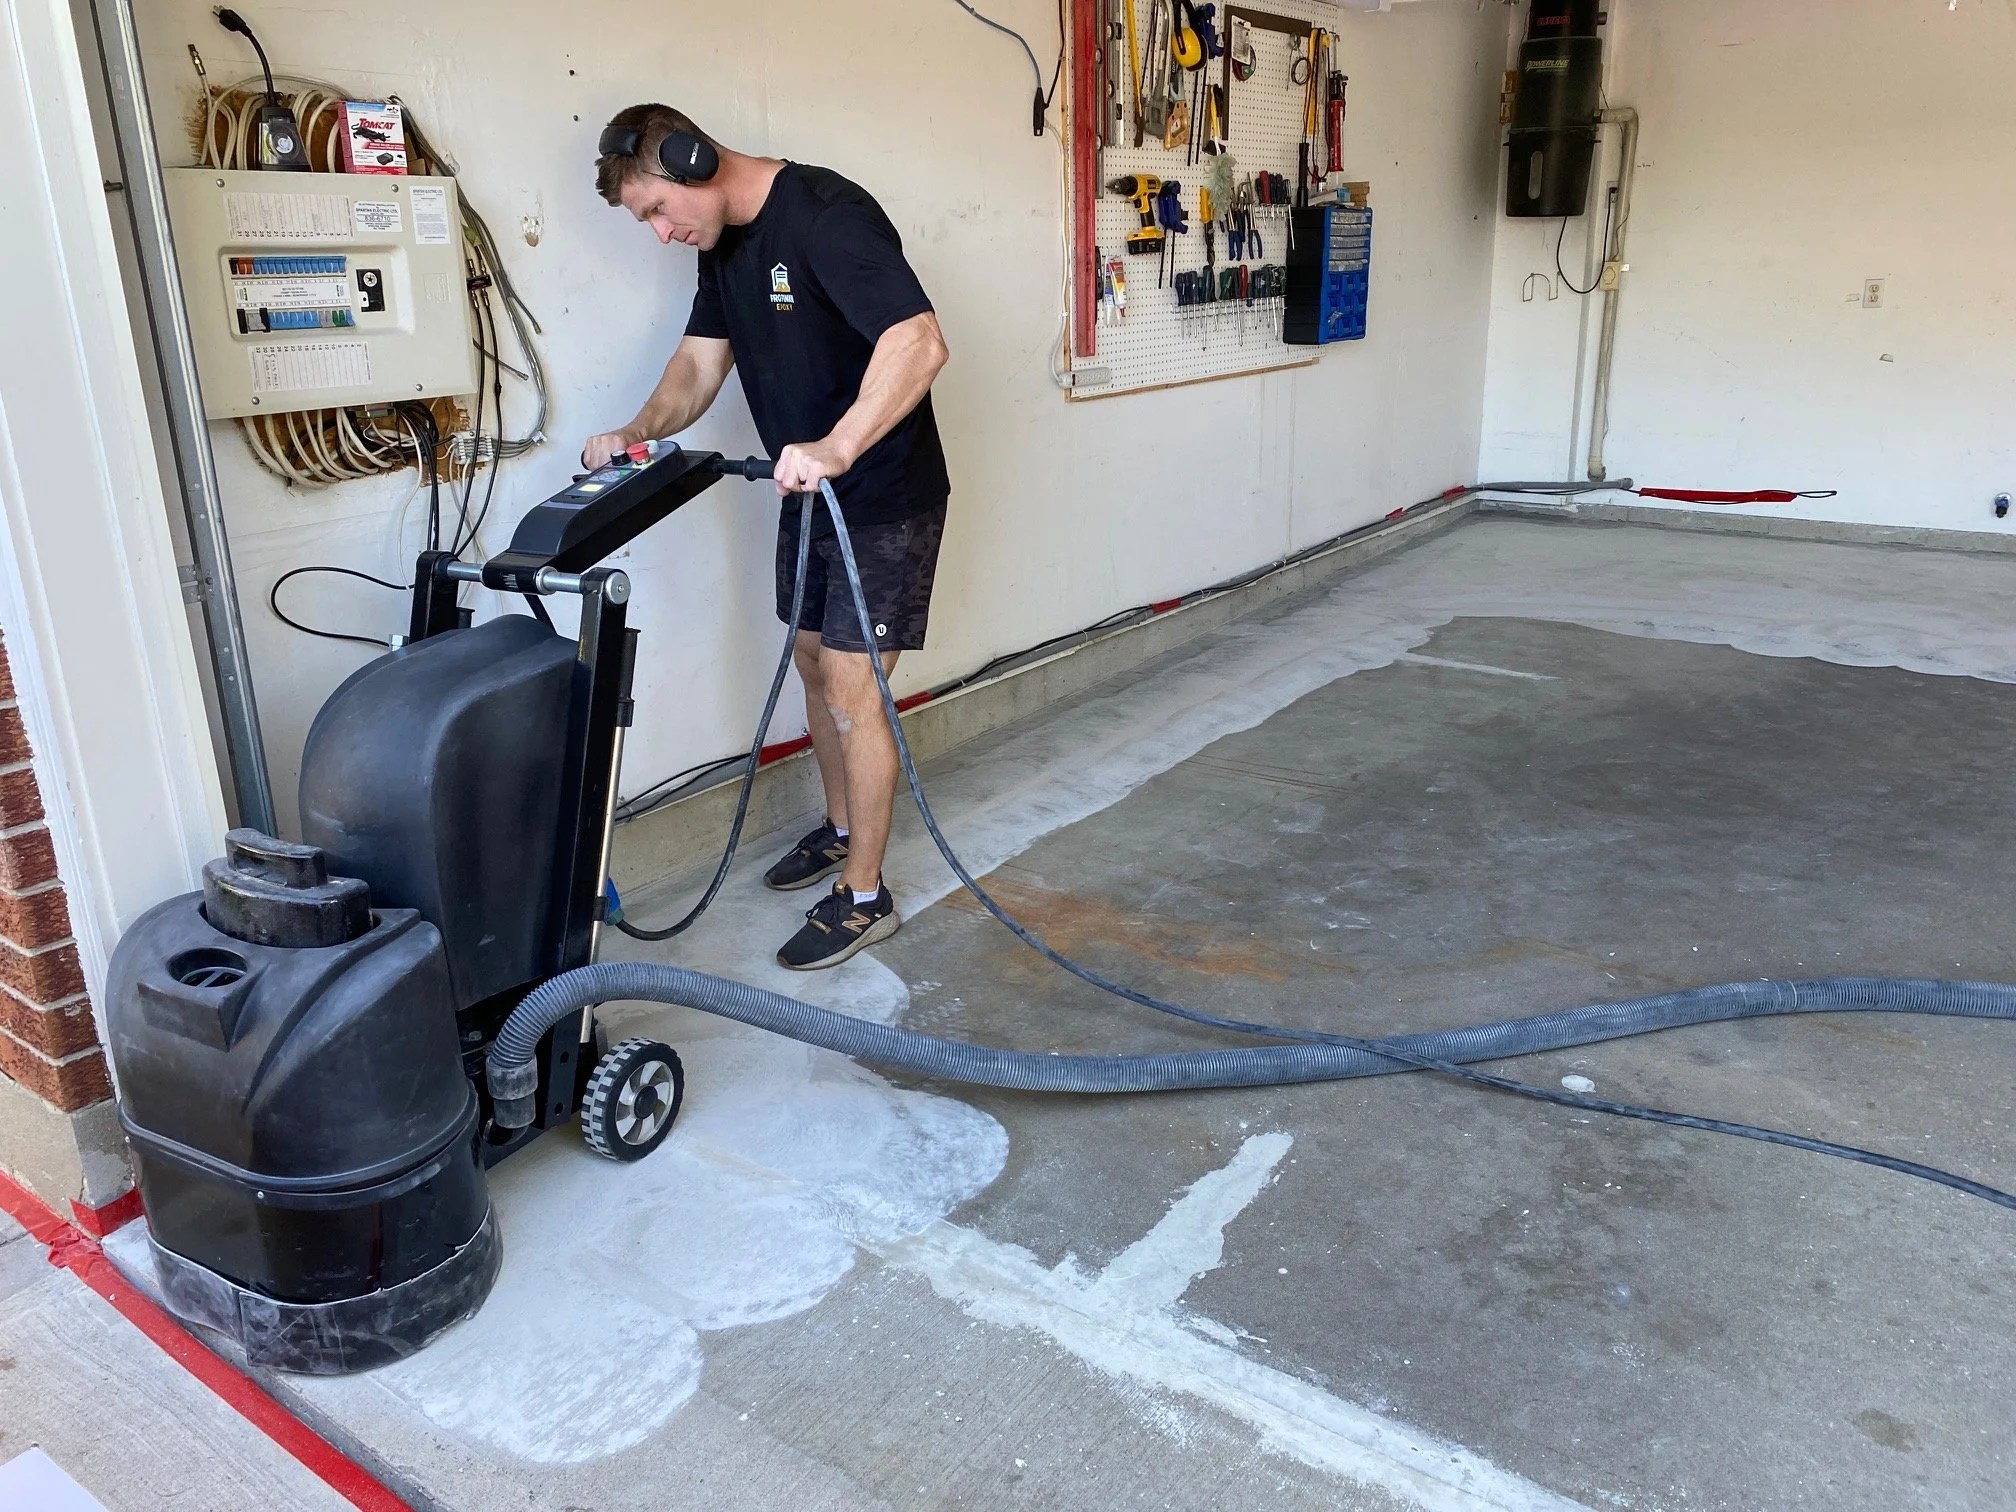
Surface Prep
Clean the Concrete: Remove dirt, grease, glue or old coatings.
Grind or Etch: Use a floor grinder to open the surface for better adhesion.
Vacuum Thoroughly: Remove all dust.
-
Apply Epoxy Primer
Mix Primer: According to product instructions.
Roll on Evenly: Use a roller to coat the surface with a thin, even layer.
Let Cure: Allow it to get tacky or fully cure.
-
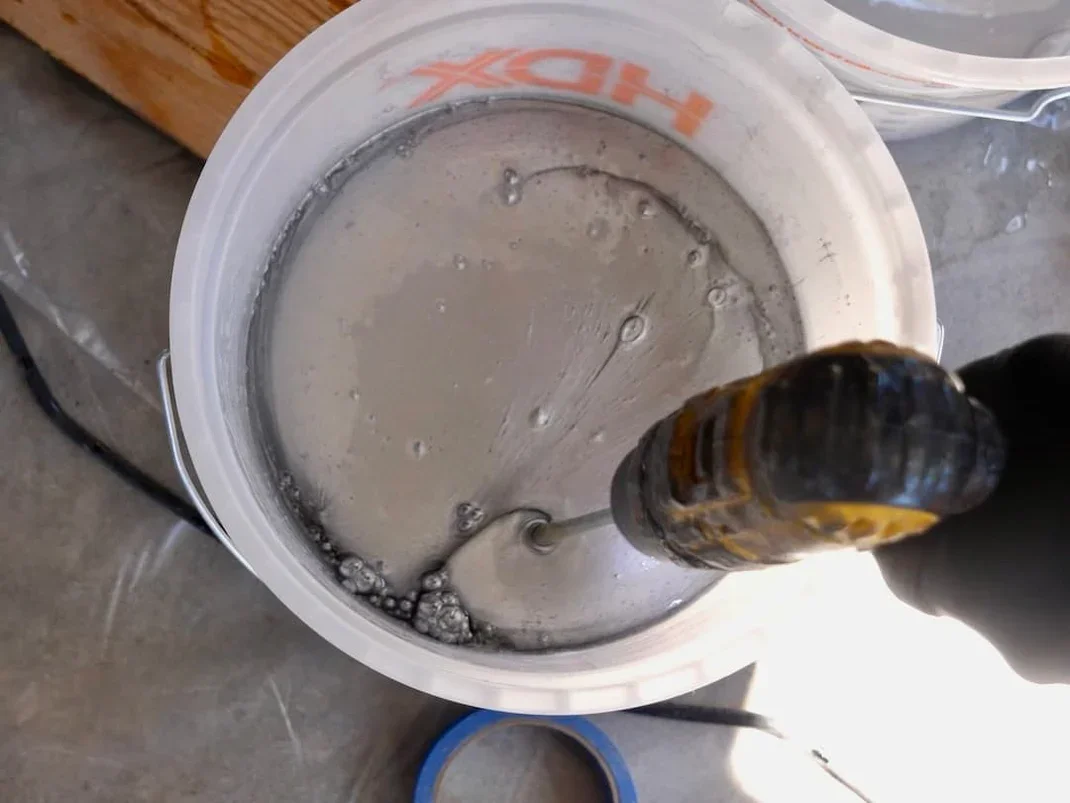
Mix Metallic Epoxy
Combine Part A & B: Mix thoroughly using a mixing paddle.
Add Metallic Pigment Powder: Stir until pigment is fully dispersed.
Let Sit: Some products need a few minutes after mixing before pouring.
-
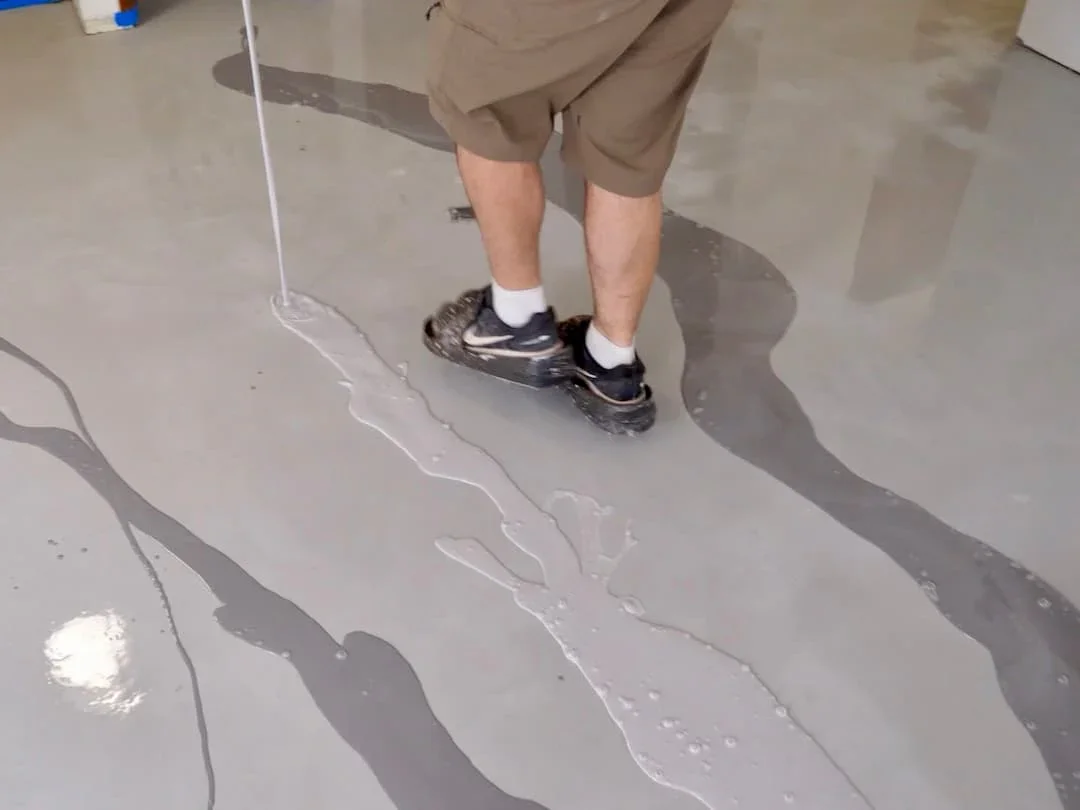
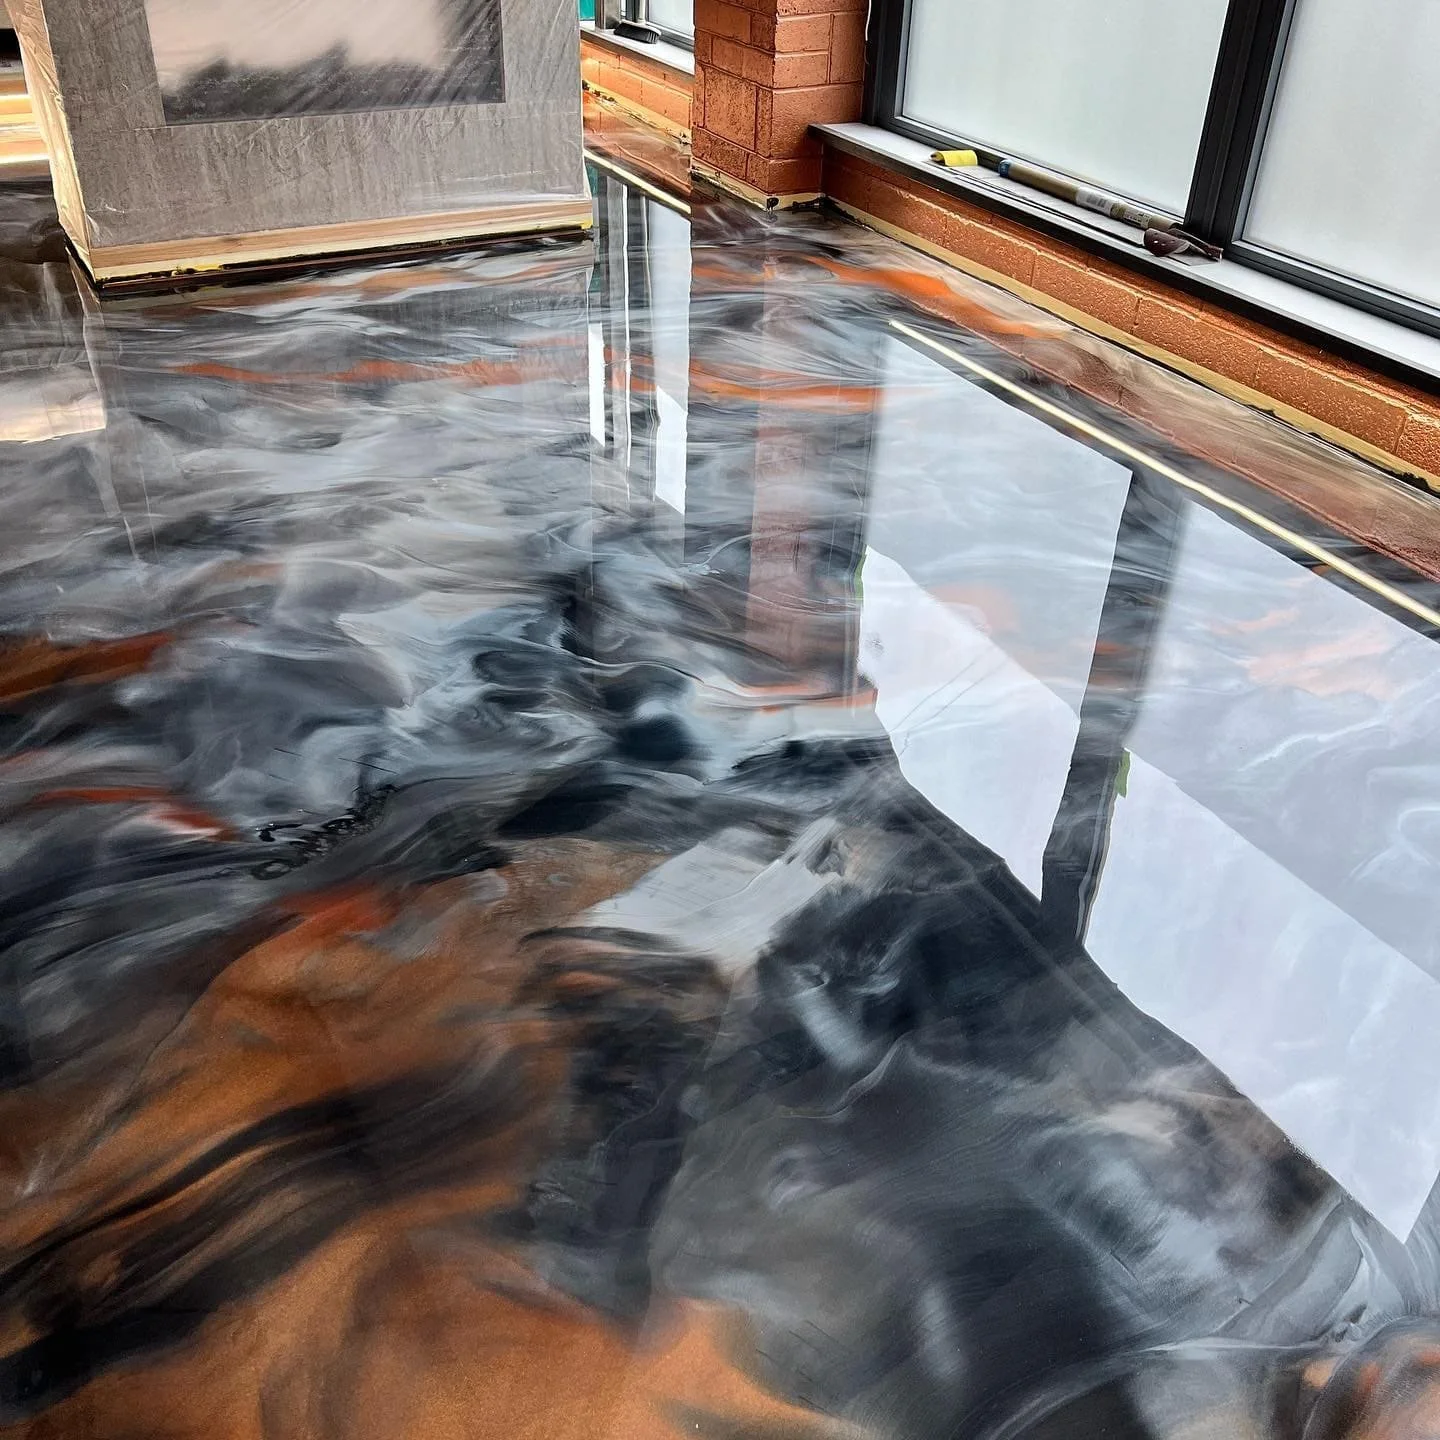
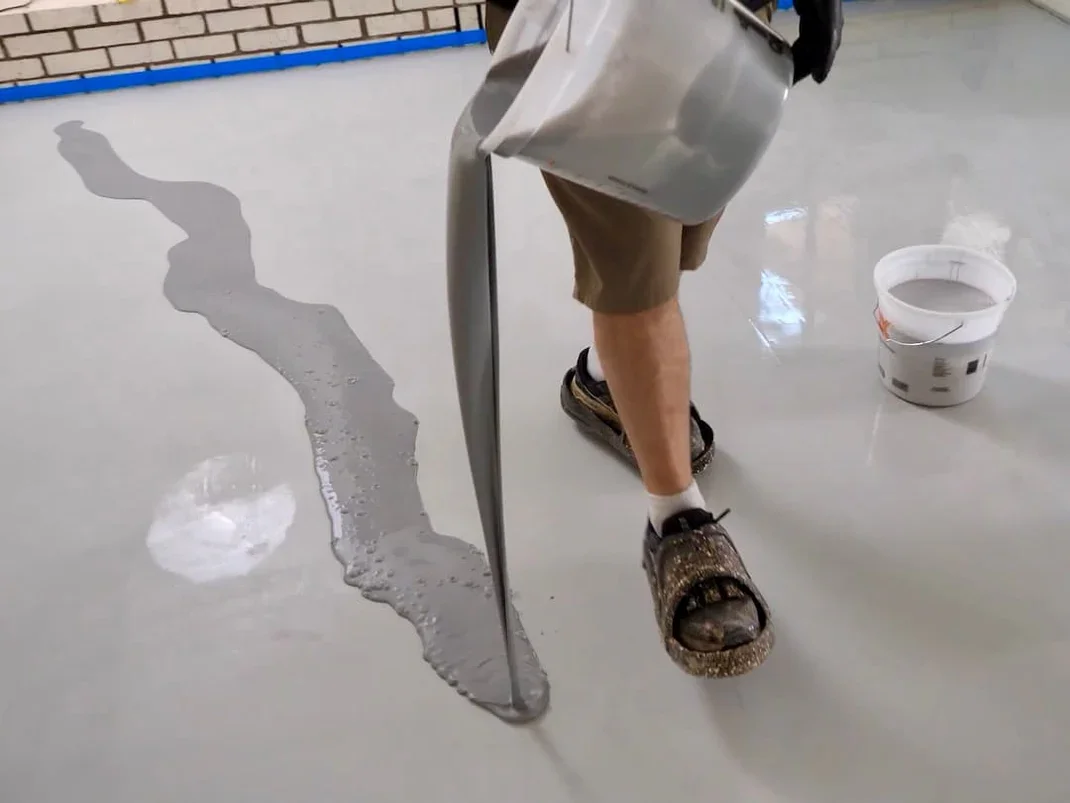
Pour and Manipulate the Metallic Epoxy
Pour in Strips or Pools: Start in a corner and work your way out.
Spread with Squeegee or Magic Trowel: Don’t overwork-let the material flow.
Create Effects: Use a leaf blower, heat gun or brushes to swirl or manipulate the pigment. Use multiple pigments colors for more dramatic depth and variations.
-

Allow to Cure
Let the metallic epoxy cure according to the products specifications. Typically 12-24 hours. Avoid foot traffic.
-
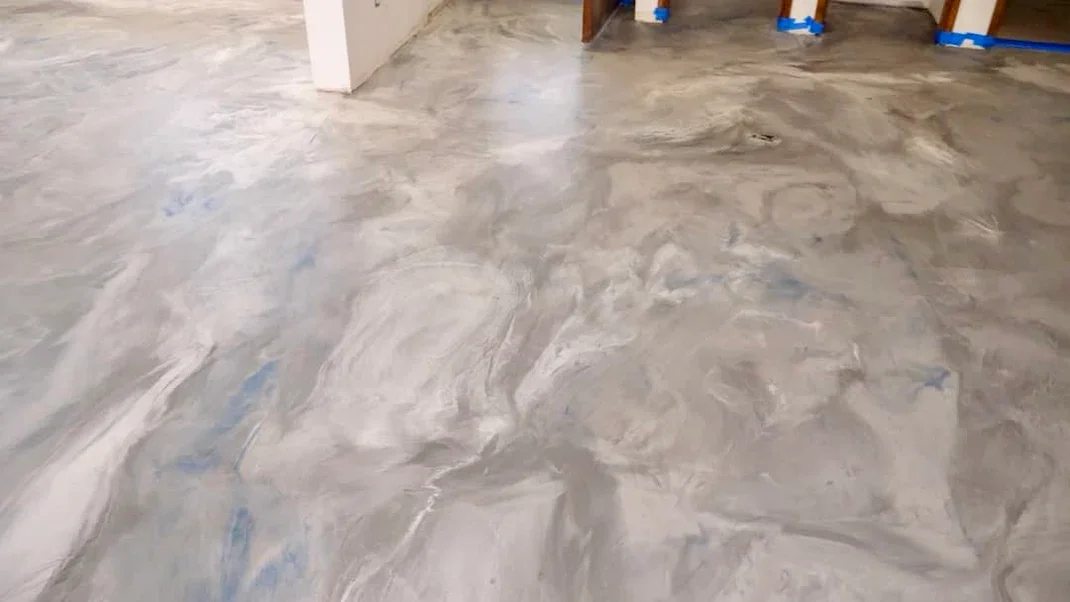
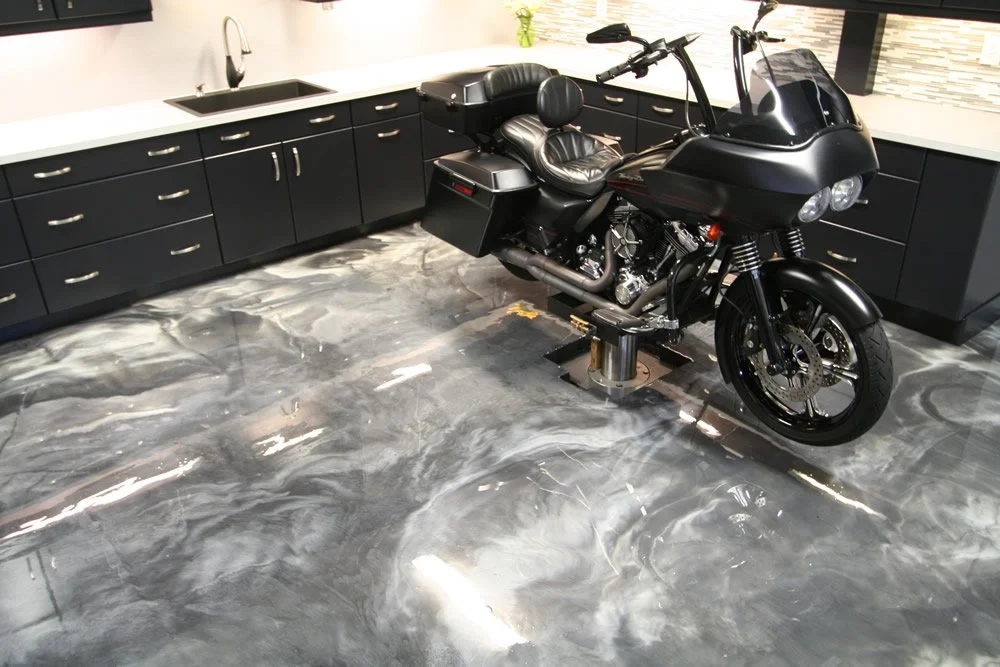
Apply Clear Topcoat
Mix and Roll: Apply a protective clear topcoat to seal the metallic layer. Gloss, Satin or Matte topcoat finishes are available depending on the desired look. Add more than one clear coat for added depth and durability.
Anti Slip Additive: if in wet areas, add a slip-resistant additive.
Let Cure: Foot traffic is recommended 24-48 hours and vehicles 5-7 days.